For Christmas 2012 I decided to start early and make a Reif Family Birthday sign for my grandparent's christmas present. Of course, this is another Pinterest find!! This is what the sample I found looked like and here is a link to the blog.
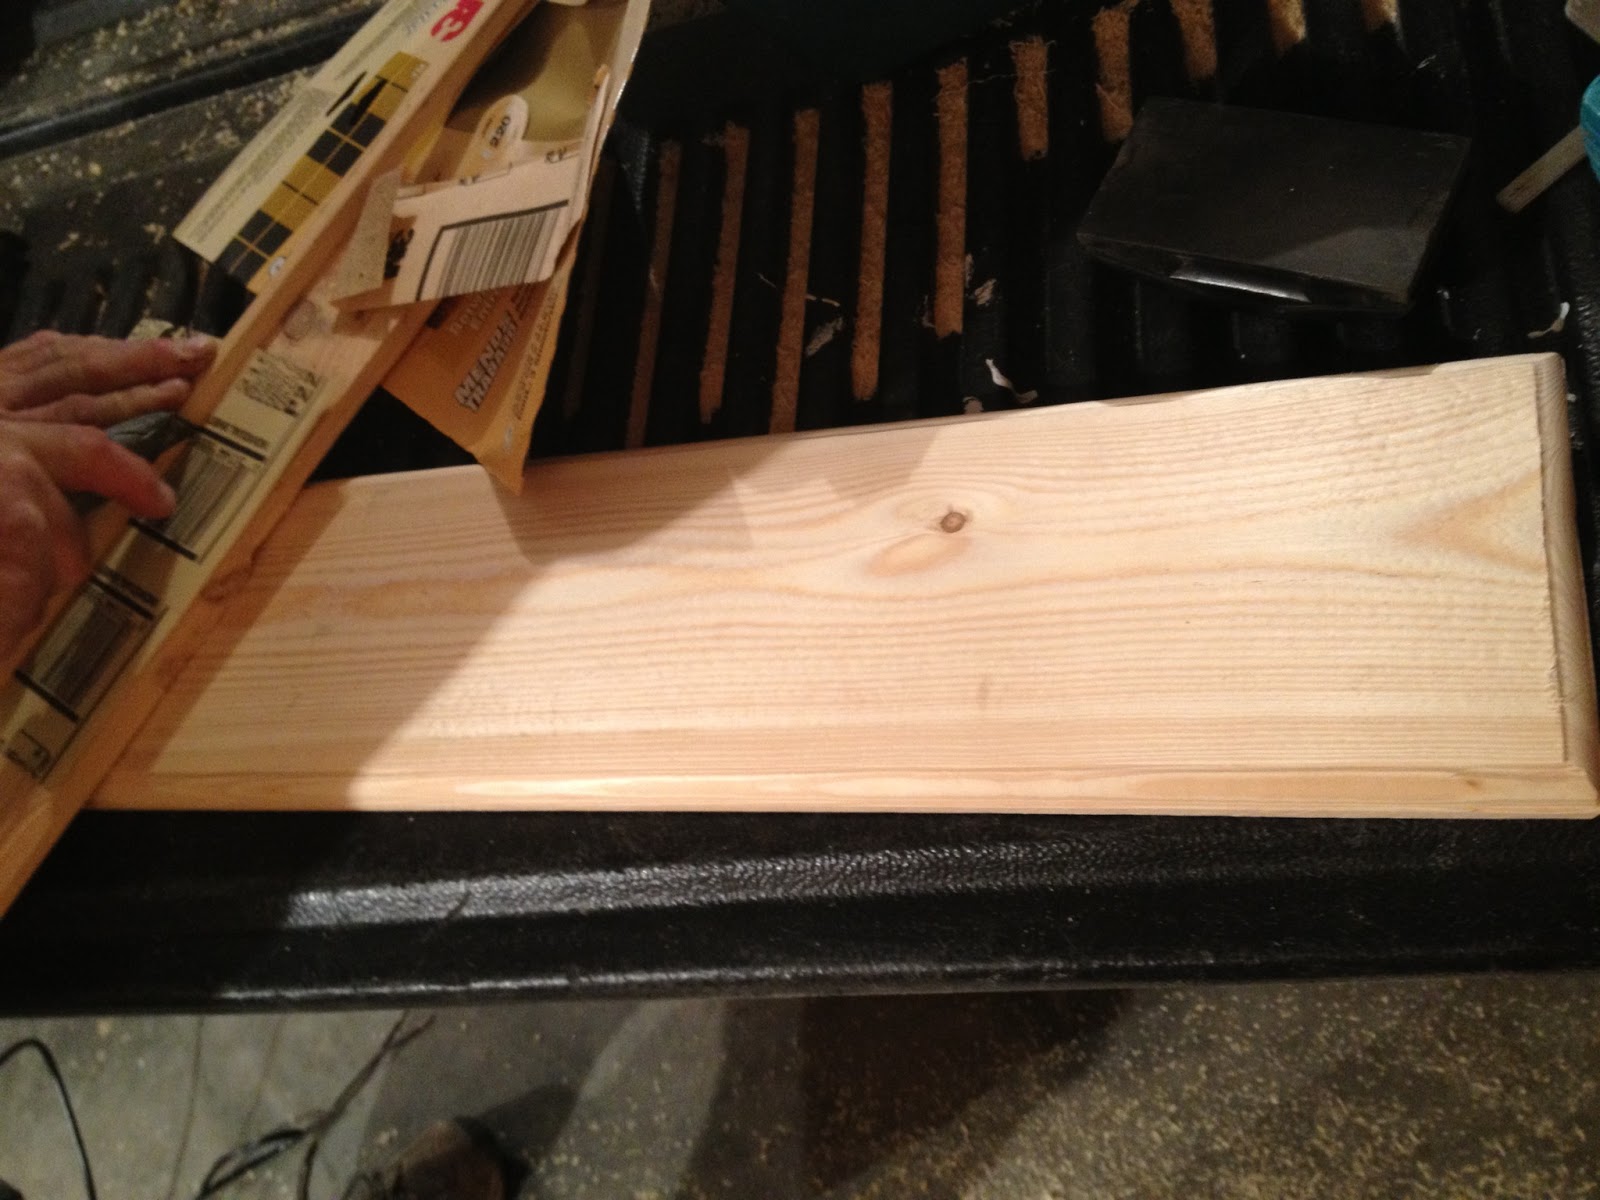
The first step was to find a board. I used a 1 X 8 that was approximately 30" long. It had some rough edges on the top and bottom so we cut about 1/2" off both sides to make the edges smooth. Next, I used a router to make the edges of the board more attractive. This is what the board looked like after routering.
I then sanded down the rough parts and used the electric sander to make the sure the face of the board was smooth. The next step was paint! I shopped for my paint at Hobby Lobby and used the awesome 40% coupon you can print off their website. I chose Anita's Acrylic Paint and bought the smaller bottles. These are the colors I used for the project.
I believe the bottles I bought cost somewhere around $.80 a piece! For the main board, I used Grey. This is what the board looked like after 1 coat of paint! I used two for the finished product.
The next step was putting the words on the board. Since my board seemed so long and I didn't want to use a large stretched out font, I used the words "Reif Family Birthdays" on my sign. I used Microsoft Publisher to create a "banner" the size of my board. I then typed out the words and used the 'Segoe Print' font and adjusted the letters to the size I wanted. I believe my letters were approximately 2 1/2" tall and 30" total in length. I printed the sign off and cut out the letters to use as stencils. I lined the letters up on the sign and then traced them on with a pencil. This is what the letters looked like lined up on the board.
After tracing the letters on, I then used a Tree House paint pen (Hobby Lobby) to fill in the letters. this is the pen I used and what the board looked like in progress.
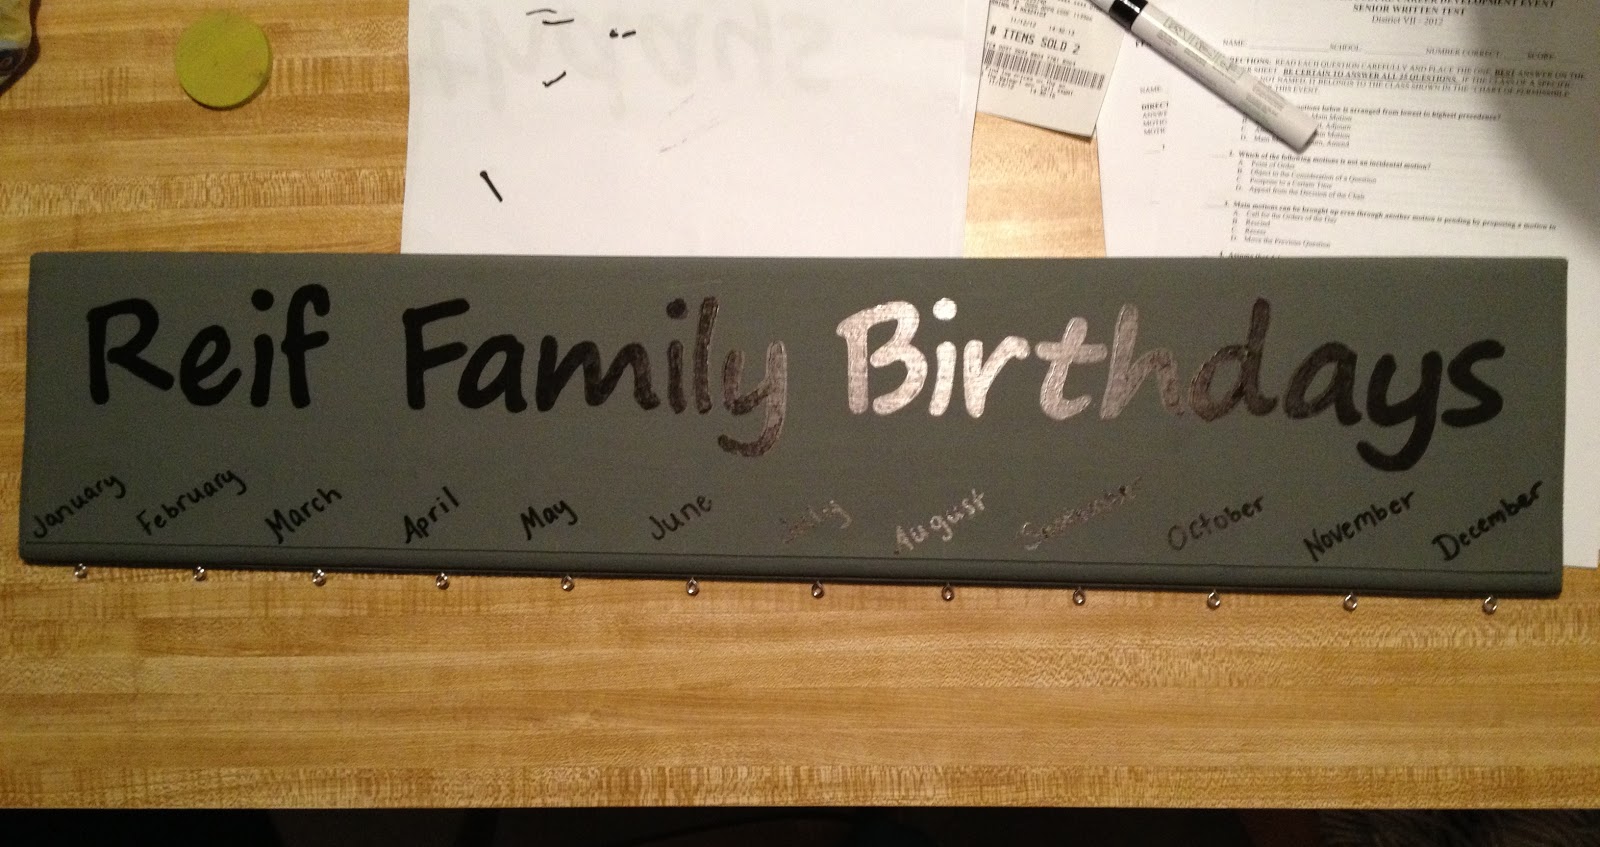
The next step was measuring the board and marking it so the holes could be drilled to hang the circles for each individual birthday and so the months could be painted on the front. I used 2 1/2" for each month of year across the bottom of the board and then marked the middle of each. I then used a 1/16" drill bit to drill holes in the bottom of the board. For the months of the year, I used the 2 1/2" marks and wrote the months of the year on the front of the board in pencil. I just used my own handwriting, trying to make it look as much like the main wording as possible. This is what the board looks like after the holes are drilled out along the bottom and also a picture of the months across the bottom.
In each hole that was drilled along the bottom of the board, I then placed an eye-screw that I also picked up at Hobby Lobby. This is what they look like.
This is what the top board looked like complete!
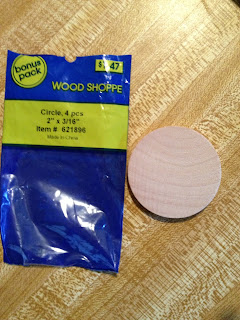
While working on the main board, I also started working on the individual circles that hang from the board listing everyone in the family's birthdays. I also bought these wooden circles at Hobby Lobby. I first started with the "wooden nickels", but after completing the first step in the process and breaking a few, I then bought wider and thicker circles to use. These are what the circles I used look like and their packaging.
I marked the circles, and drilled a small hole in the top and bottom of the circles using a 1/16" drill bit. You must make sure the holes are directly above/below each other in order for them to hang correctly. After drilling the holes, I then painted the circles using the other colors I purchased. Each person in the family has their own circle and each family has their own color. So for example, my family has 4 people in it and our color I chose was pink. So I painted 4 of the circles pink. To be sure that the holes previously drilled stayed open, I used a push pin to remove the paint. These are what the circles look like in progress.


After the painting was complete, I used the eye-screws from earlier and put one in each the top and bottom of each circle, then I used the paint pen from earlier to write each person's name and the date of their birthday on the circle that is designated to them. For example mine would be (Alicia with a 12 below it or my dad's would be Scott with a 3 below it). These are what some of them look like complete!
When all of the individual pieces were complete, I used a needle-nose pliers to open the eye-screws to connect them together and to the sign, and then made sure they were closed so nothing falls off!
It's finally done!!
Here is my finished product!!
Each year, our county hosts a 4-H project day to make projects for the youth to exhibit at Achievment Days and State Fair. This year, our project day was in July (I know, I should have started this sooner, but I finally got a break from being completely swamped!). This was my first year being in chrage of the WHOLE afternoon and it was really exciting! Using Pinterest I found three awesome, easy projects that youth of all ages LOVED. Each was supposed to take about an hour, but the time varied for each one. I got pictures of most of the finished products and was excited to see them earn purple ribbons at both Fairs! Below you will find a description of one of the projects we did, complete with pictures!
Suncatchers
This project was another awesome easy one for kids of all ages. There is some parent help required, because an oven and possibly a drill is needed, but otherwise, its totally kid friendly! First off, I went to Walmart and bought foil pie pans. You could use whatever shape you want (cirlce, square, rectangular, etc), based on what shape you want your final suncatcher to be. We used the foil pans, as it was easier to get the final project out of for younger kids. I also went to Michaels Craft Store (in Sioux Falls next to Sam's Club) and purchased various colors of beads (I believe they were $4.99 a box). I purchased them from Michaels, because I couldn't find large, plastic beads, especially for this price, anywhere else. Here is a picture of what the boxes looked like.


The first step in the project is to have the kids line the bottom of the pan with the beads. They can create any design they want, depending on the colors available. We had stripes, stars, and other various designs. In my sample, I just put beads in the pan, so I have a random mix of colors. After lining the bottom of the pan, put the pan in the oven at 400 degrees for 20 minutes-or until the beads are all melted. As they melt, they will go together and create an awesome suncatcher. After the suncatcher has cooled down, flip the pie pan over, and the final project could come out. You might have to push it from the bottom, but it will come out in one piece. Then, you can use a drill and drill a small hole somewhere close to the edge and string some fishing line or similar string throught the hole as a way to hang it. That completes your project. Here is a picture of a suncatcher, without the string to hang!
Each year, our county hosts a 4-H project day to make projects for the youth to exhibit at Achievment Days and State Fair. This year, our project day was in July (I know, I should have started this sooner, but I finally got a break from being completely swamped!). This was my first year being in chrage of the WHOLE afternoon and it was really exciting! Using Pinterest I found three awesome, easy projects that youth of all ages LOVED. Each was supposed to take about an hour, but the time varied for each one. I got pictures of most of the finished products and was excited to see them earn purple ribbons at both Fairs! Below you will find a description of one of the projects we did, complete with pictures!
Crayon Art
This project is also really easy, but can get messy! You need a canvas(any size works. I used one with an open back for my sample, and the youth used solid back ones that I purchased at Michaels Craft Store. They are also available at Walmart or other craft stores. You also need something to cover the work surface, crayons, glue(hot glue works great) and a blow dryer. Here are a few pictures of our projects in progress, so you can see our set up!


We used pieces of old, used, crayons, but you could also use new ones. To start, cover your work surface with a plastic table cloth or something that is old and can get crayon wax on it. This project could get messy. To begin the project, you glue the crayons onto the canvas however you want. It can be done in a straight line across the top, a circle, randomly, etc. You can also use something else to hold down the crayons and not glue them down, but that gets very messy and requires both hands and concentration! After you get the crayons arranged, then use the blow dryer to melt the crayons. You can move the board around to move the melted crayons as well. The crayon dries rather quickly, so just use the blow dryer to heat it back up and adapt your project as you choose! It really is a great way for kids to be creative and to make their own project, as they get to choose their colors and the design they want to make. These are some pictures of finished projects from our craft day.
Each year, our county hosts a 4-H project day to make projects for the youth to exhibit at Achievment Days and State Fair. This year, our project day was in July (I know, I should have started this sooner, but I finally got a break from being completely swamped!). This was my first year being in chrage of the WHOLE afternoon and it was really exciting! Using Pinterest I found three awesome, easy projects that youth of all ages LOVED. Each was supposed to take about an hour, but the time varied for each one. I got pictures of most of the finished products and was excited to see them earn purple ribbons at both Fairs! Below you will find a description of one of the projects we did, complete with pictures!
Painted Pavers
This one was really easy for kids of all ages! I went to Menards (or you could go to any home improvement store) and purchased cement patio pavers. We did a longer paver with a scalloped edge. (They were 22 pounds a piece, so I recommend something smaller if they are going to be transported quite a bit, like ours were!). I then painted them with a sealant that allows cement to be painted. Without this, the paint will not stick to the cement. You can also purchase this in various sizes from any home improvement store. Then it was the kid's turn! I provided paint, paintbrushes, painters tape, and clothes to save the tables and let them go!
After letting the pavers dry for between 30 mins to 1 hour, they were ready to go! These were some of the finished products displayed at Achievment Days!


.JPG)
.JPG)


.JPG)
.JPG)
.JPG)
